
Introduction
Microsoft recently extended it’s deadline to Disable Basic Authentication Office 365 and Exchange online v2 is around for some time now, but that doesn’t have help for automation jobs. They recently announced preview of exchange online v2 version 2.0.3, which supports certficate based auth and this will help you to use it in task scheduler and automation.
Mentioned steps will assist to automate the task, There would be 4 steps :
- Create an application in Azure AD with Exchange.AsManageApp permission.
- Create Self Signed Certificate on On Premise on your Tool Server.
Note : Create self signed cert with the account, which will be used to run task scheduler job. In my case I will be creating cert via exchadmin@lab.local
- Upload Self Signed Certificate to Azure App.
- Connect Exchange Online with Cert Auth and use it in task scheduler running unattended
Create an App and provide permission
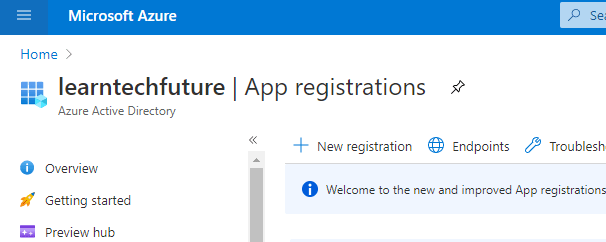
- Login to portal.azure.com with global administrator credential and navigate to Azure Active Directory > App Registrations.
- Click on ‘New Registration’
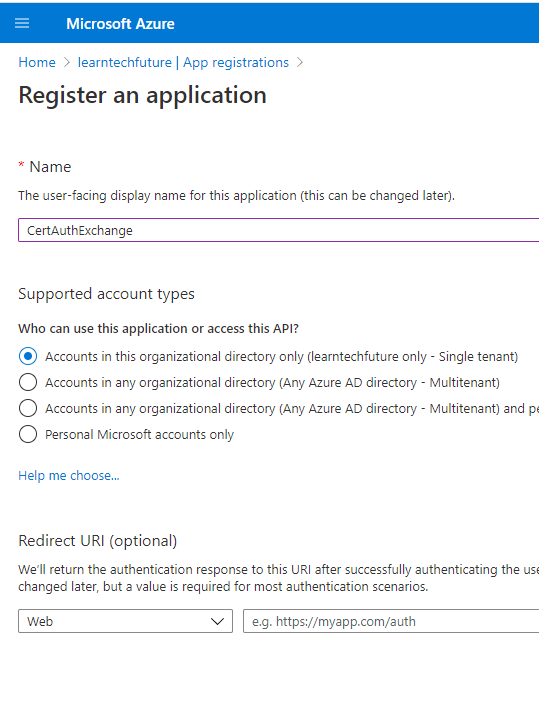
- Type Friendly Name for the App and Select First Option and click Create.
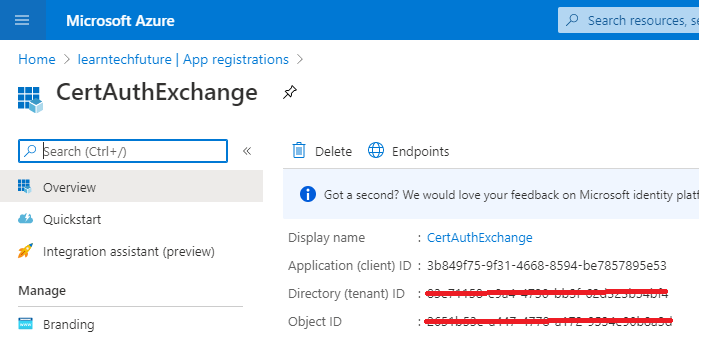
- Now, you will see App has been created and some useful info appears like App ID, Object ID etc.
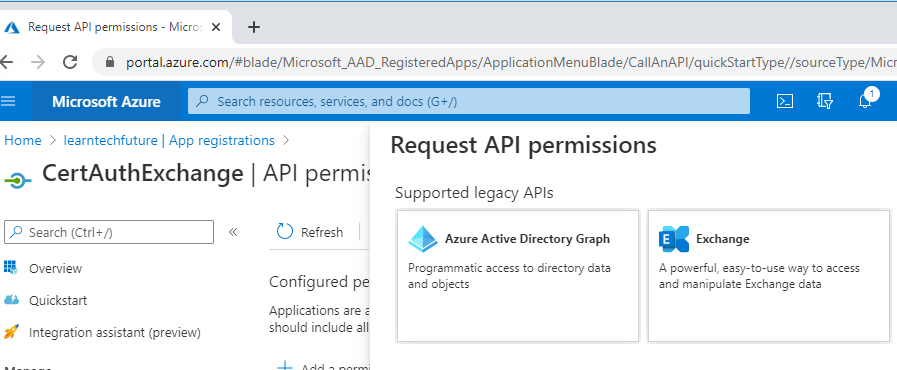
- Navigate to “API Permissions”
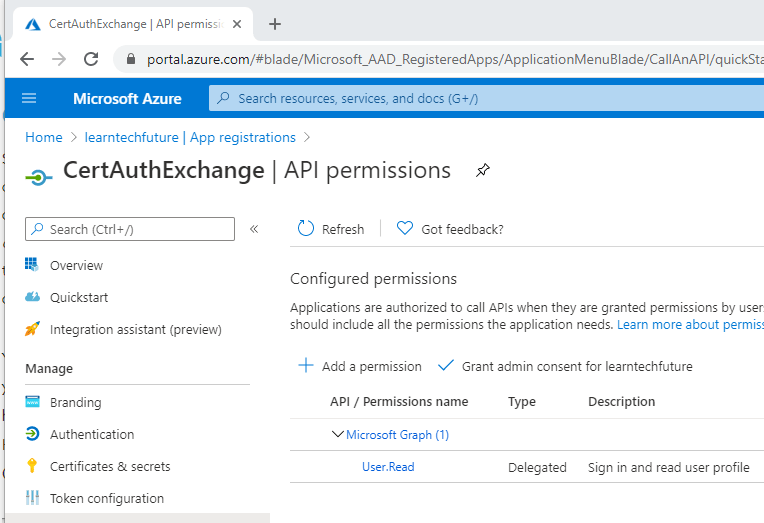
- Click on Exchange.
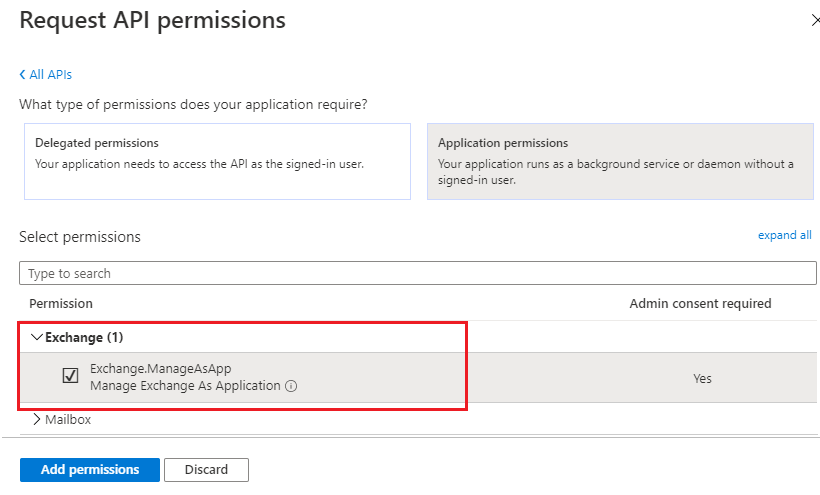
- Click on Application Permission then Exchange.ManageAsApp.
- Click “Grant admin consent for tentant”
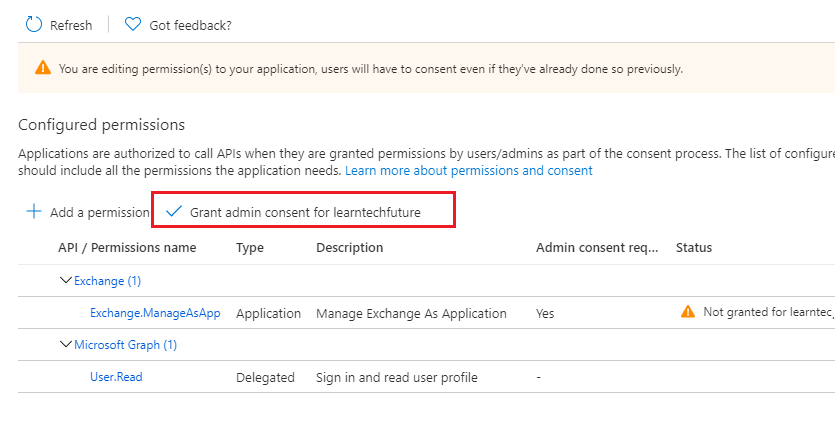
- Click “Yes”

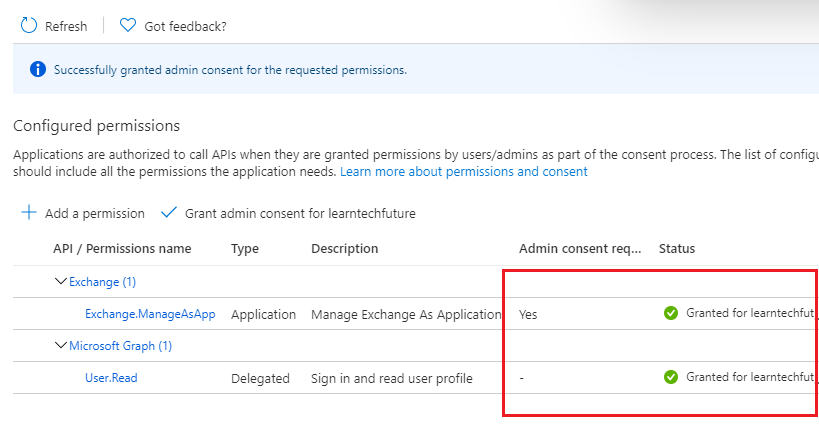
- Now are set with the necessary permissions :
Create and Export Self Signed Certificate
- Login to machine with Admin Account, which will run scripts in task scheduler.
- In my case, I am using local service account ExchAdmin@lab.local.
- Run this command to create a self signed certificate.
New-SelfSignedCertificate -FriendlyName "Exch Cert Auth" -Subject "Exch Cert Auth" -CertStoreLocation "cert:\CurrentUser\My" -KeySpec KeyExchange
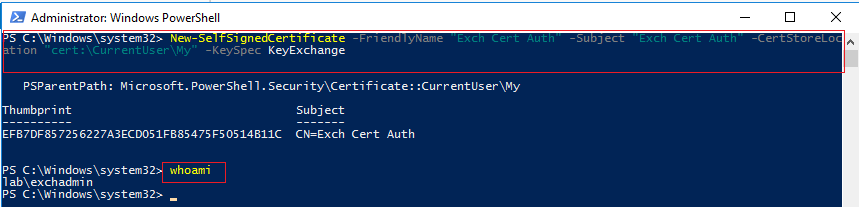
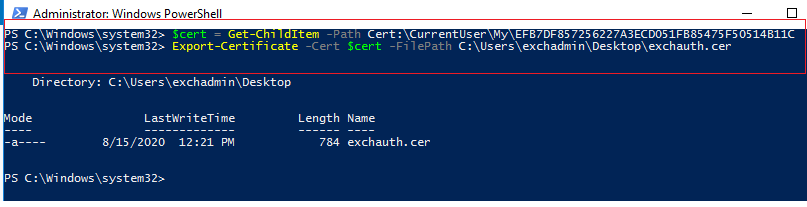
- Export certificate to .cer format, Copy Thumbprint shown above :
$cert = Get-ChildItem -Path Cert:\CurrentUser\My\EFB7DF857256227A3ECD051FB85475F50514B11C
Export-Certificate -Cert $cert -FilePath C:\Users\exchadmin\Desktop\exchauth.cer
Upload Self Signed Certificate to Azure App and Grant Exch Role
- Login to Azure, Navigate to App Registration and search for the App.
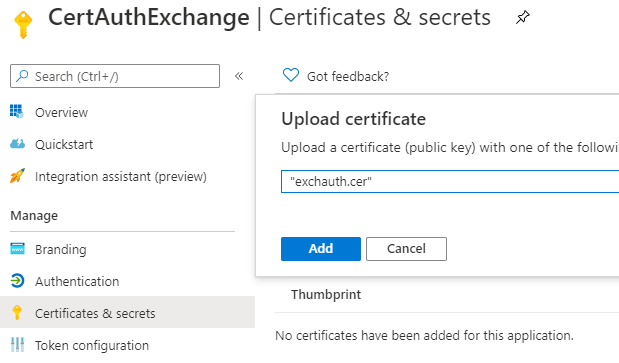
- Navigate to “Certificates & Secrets” and upload the certificate.
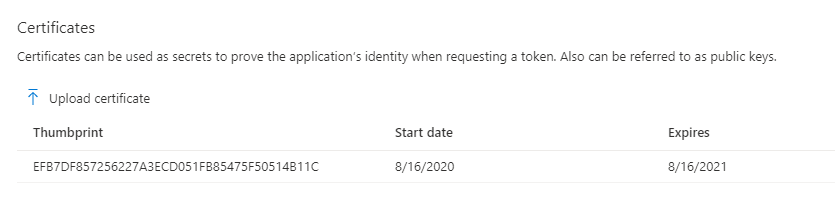
- Make sure, you can see the uploaded thumbprint, You would have to make sure to upload renewed certificate.
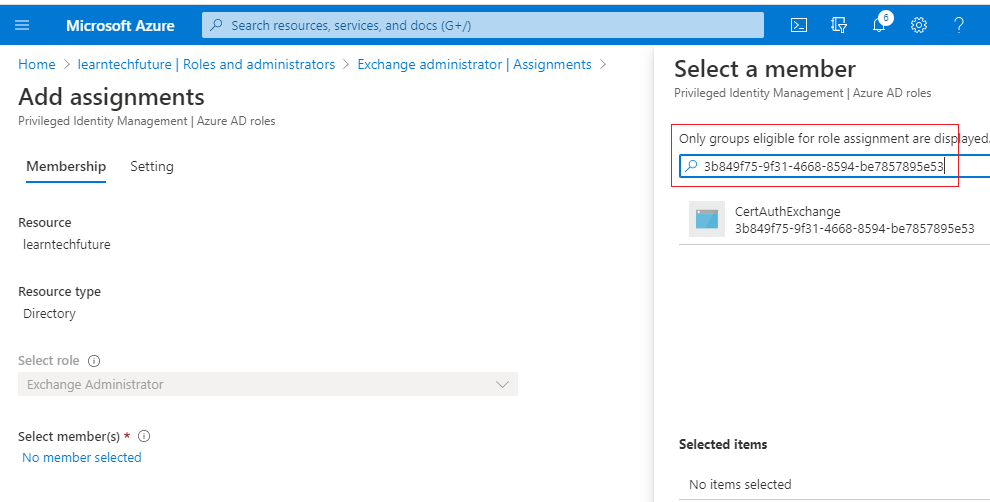
- Navigate to Roles and Administrators > Search for Exchange Administrator > Click on Add Assignments.
- Search for the Application ID. In my case application ID is 3b849f75-9f31-4668-8594-be7857895e53.
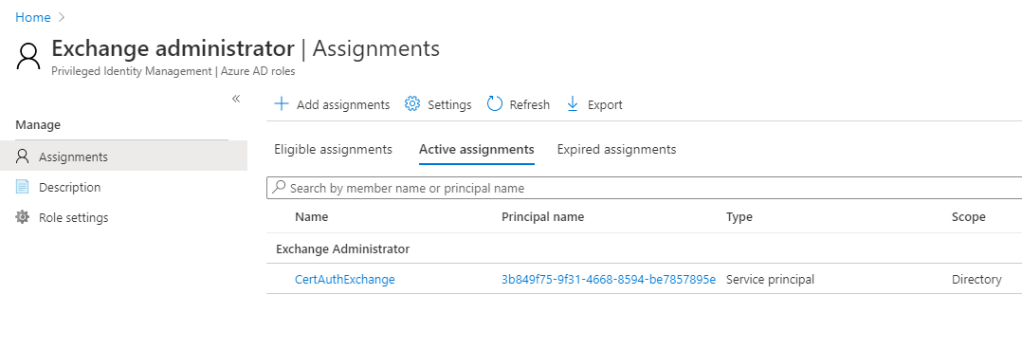
- Make sure, you see you app in Active Assignment..
Connect Exchange Online with Cert Auth
- Install ExchangeOnlineManagement Preview Version.
Install-Module -Name ExchangeOnlineManagement -Version 2.0.3
Exit
- You can have both old and new preview modules side by side but you would have to call module explicitly.
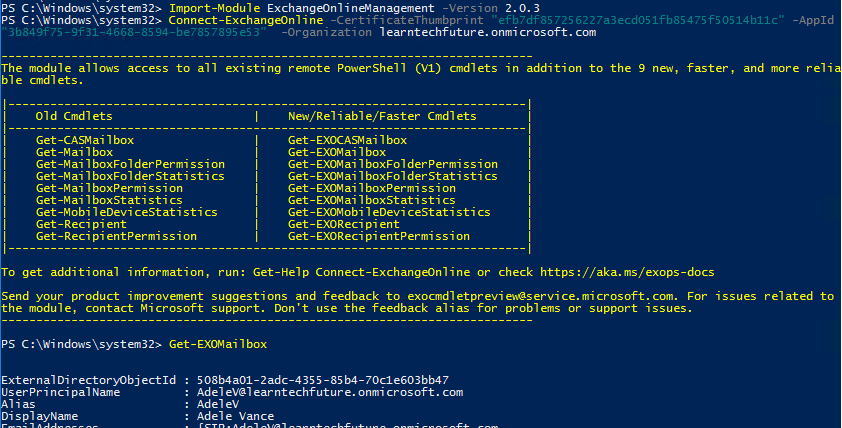
Import-Module ExchangeOnlineManagement -Version 2.0.3
- Make sure call Exchange Online Preview 2.0.3 because that only accepts CertificateThumbprint parameter.
Connect-ExchangeOnline -CertificateThumbprint EFB7DF857256227A3ECD051FB85475F50514B11C -AppId 3b
849f75-9f31-4668-8594-be7857895e53 -Organization learntechfuture.onmicrosoft.com
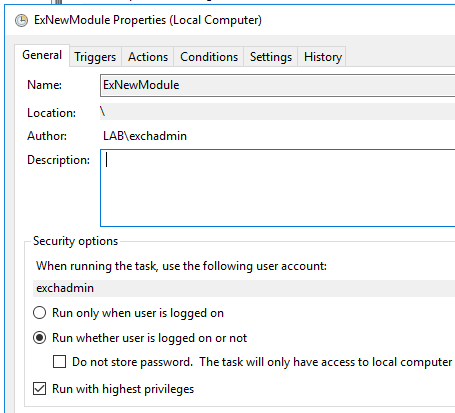
Run Task Scheduler Job
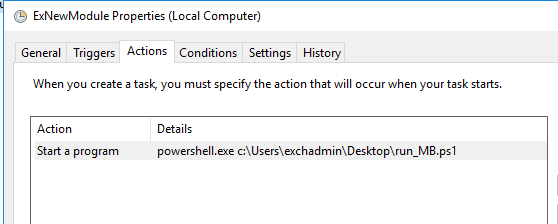
- I schedule this sample script in task scheduler and ran it unattended and manually. It worked in both cases.
Import-Module ExchangeOnlineManagement -Version 2.0.3
$session = Connect-ExchangeOnline -CertificateThumbprint "efb7df857256227a3ecd051fb85475f50514b11c" -AppId "3b849f75-9f31-4668-8594-be7857895e53" -ShowBanner:$false -Organization learntechfuture.onmicrosoft.com
$rcpt = Get-ExoMailbox -resultsize unlimited | select *
$rcpt | export-csv c:\Users\exchadmin\Desktop\MB.csv -NTI
- Here are few screenshots of the Task Scheduler, I ran i manually and it ran automatically as per schedule as well/
- Since, this module is in preview, I do not expect everything to run as it was running in 1.0.1 version of Exchange Online v2. I will keep exploring and will put my findings in another article.
Thank you for reading !
