Every now and then, we get request to upload PST Files or you might need this as part of your migration effort. This article will help you to import multiple psts into multiple Office 365 mailboxes.
Pre-Requisites:
- Mailbox Import Export role in Exchange Online to import PST files to Office 365 mailboxes.
- Copy PSTs to Local Machine and keep them in a folder.
- Keep Single PST files size below 20 GB Size.
- Create a mapping file with mailbox and pst name.
- Set Mailbox Max Send and Receive Size to 150 MB.
Steps :
Get Mailbox Import & Export Role
Login to https://outlook.office365.com/ecp/default.aspx
Navigate to Permissions > Admin Roles and click on +
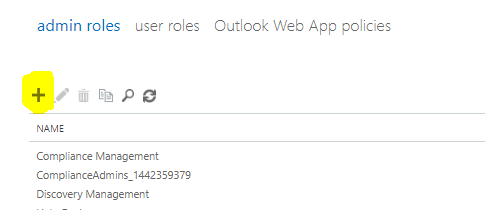
Type a friendly name and click on Roles and select ‘Mailbox Import Export’

Now, add admin user under ‘Members’, It may take next 30 minutes, before you can start PST Import.

Prepare mapping file for pst import
- It will be used later in the import process.

Prepare a CSV file as below, you can download the file from below link :
- These file parameters will import content of PST into your top level folders.
Refer this article for more details about mapping file fields https://docs.microsoft.com/en-us/microsoft-365/compliance/use-network-upload-to-import-pst-files#step-4-create-the-pst-import-mapping-file
Complete Flow of PST Import Job

Create Import Job
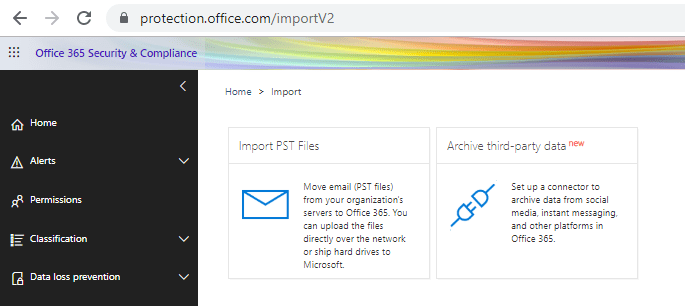
- Login to https://protection.office.com/importV2
- Click on ‘Import PST Files’
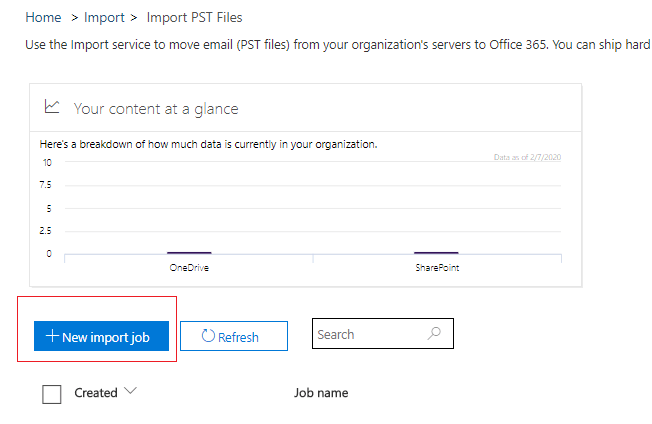
- Click on ‘New Import Job’.
- Put a friendly name for import job.
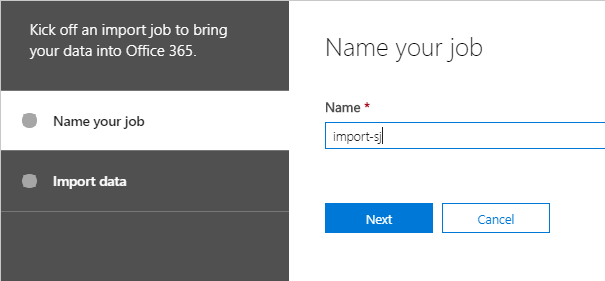
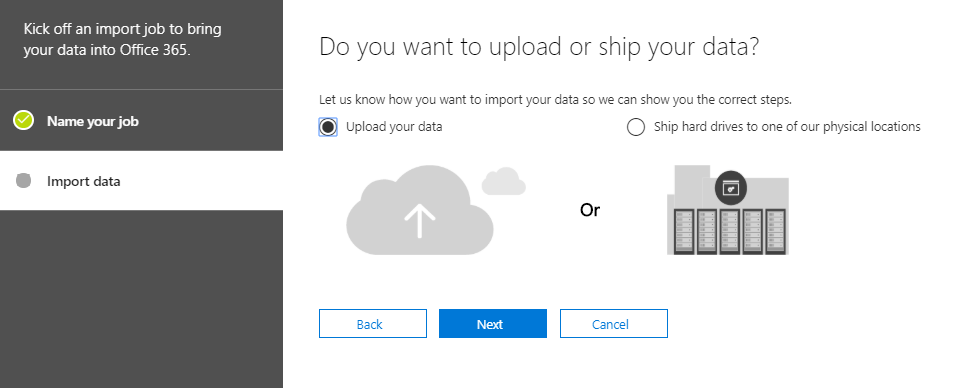
- Select ‘Upload your data’ and then click next.
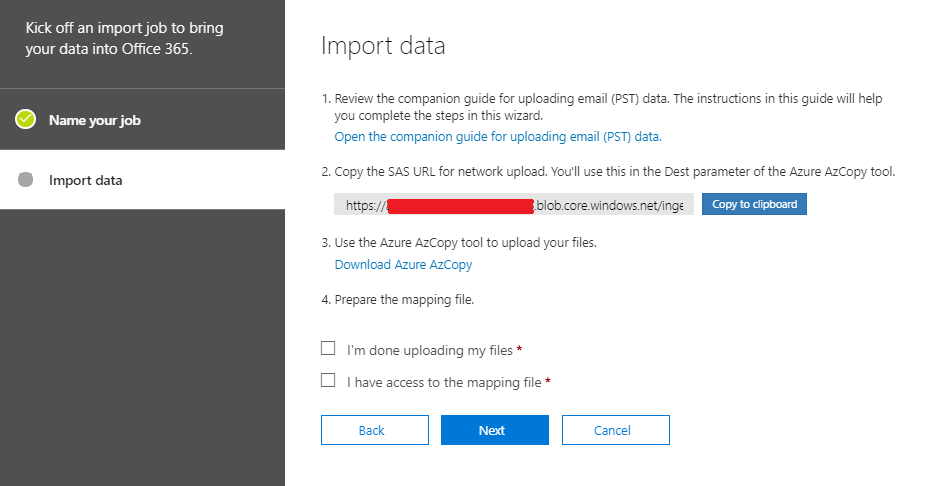
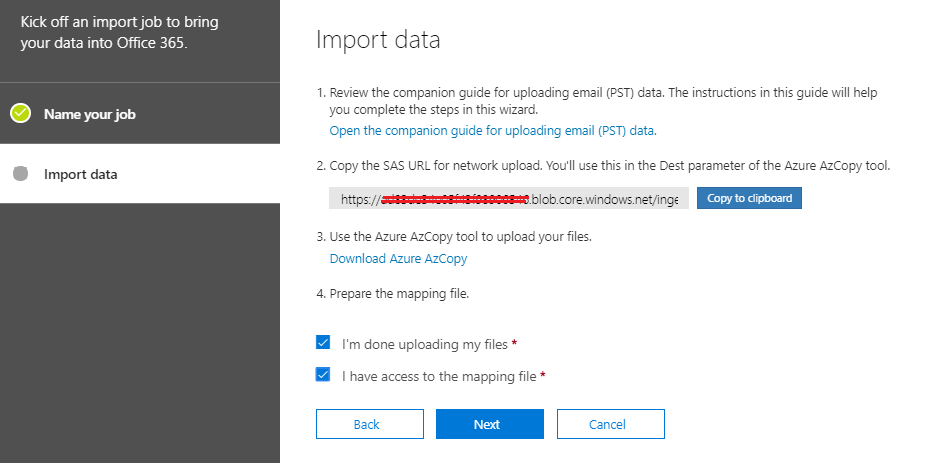
- Click on ‘Show Network upload SAS URL’.

- Copy SAS URL and Download Azure AzCopy.
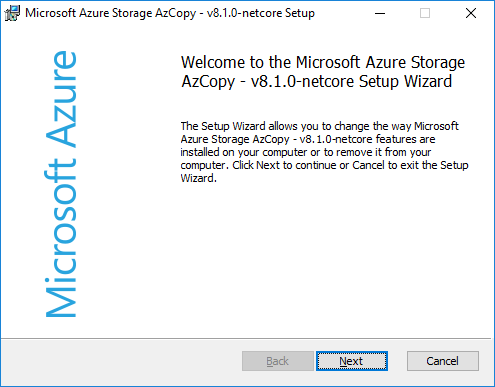
- Double Click on AzCopy and Install by clicking next on all prompts.

Upload PST
- Launch Command Prompt with run as Administrator.
- Navigate to C:\Program Files (x86)\Microsoft SDKs\Azure\AzCopy
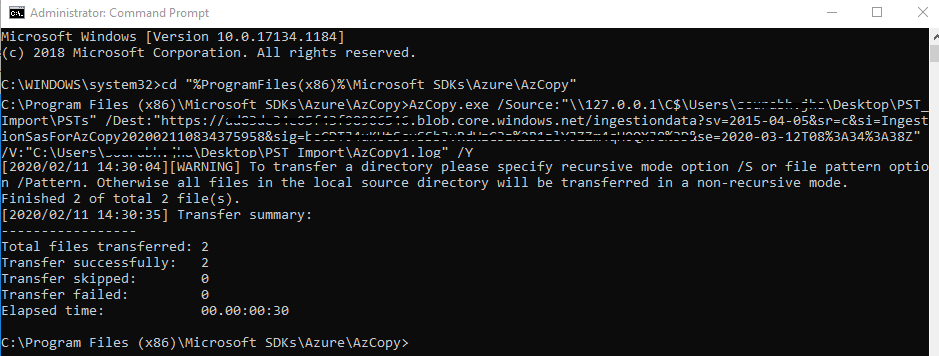
- Type below command but replace Dest with ‘SAS URL’ copied in above step and specify path of your PST Folder and Log location as well.
| C:\Program Files (x86)\Microsoft SDKs\Azure\AzCopy>AzCopy.exe /Source:”\\127.0.0.1\C$\Users\Desktop\PST_Import\PSTs” /Dest:”https://xxxxxxxxxx.blob.core.windows.net/ingestiondata?sv=2015-04-05&sr=c&si=IngestionSasForAzCopy202002110834375958&sig=xxxxxxxxxx%2B1zlYJZZm4qH0QXJ8%3D&se=2020-03-12T08%3A34%3A38Z” /V:”C:\Users\Desktop\PST_Import\AzCopy1.log” /Y |
- Command will look like this
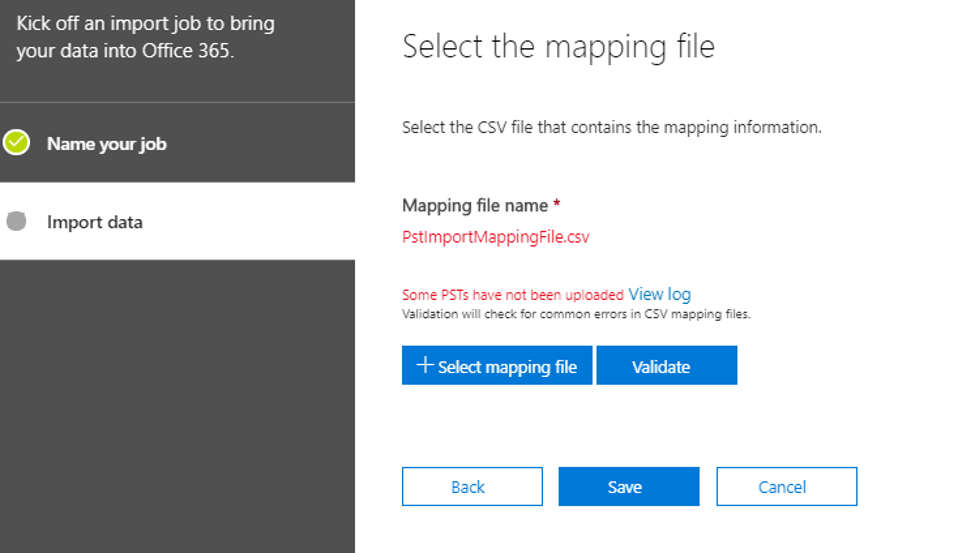
Validate Mapping File
- If you get any error with mapping file then click on ‘View Log’.
- This validation can find if your pst files and mailbox exists.
- Successful validation will look like below :
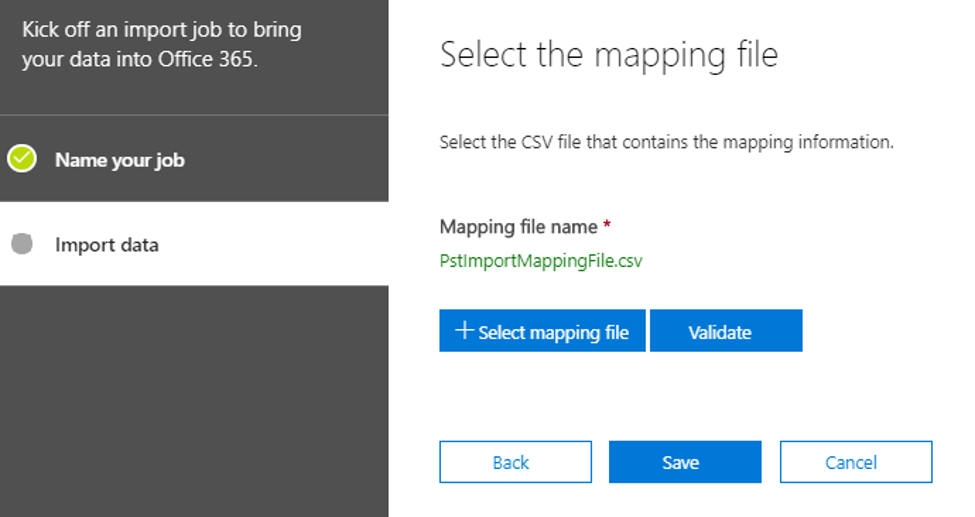
- Click on ‘Close’
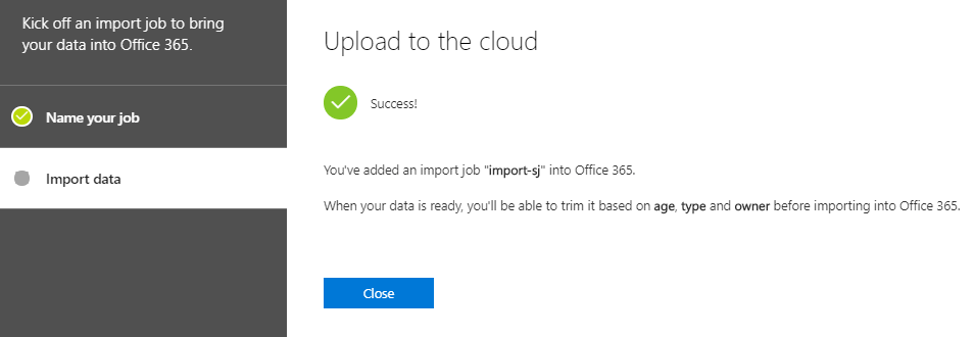
- You will receive couple of email and once PST file and Mailbox mapping is compelte. You can run Import Job.
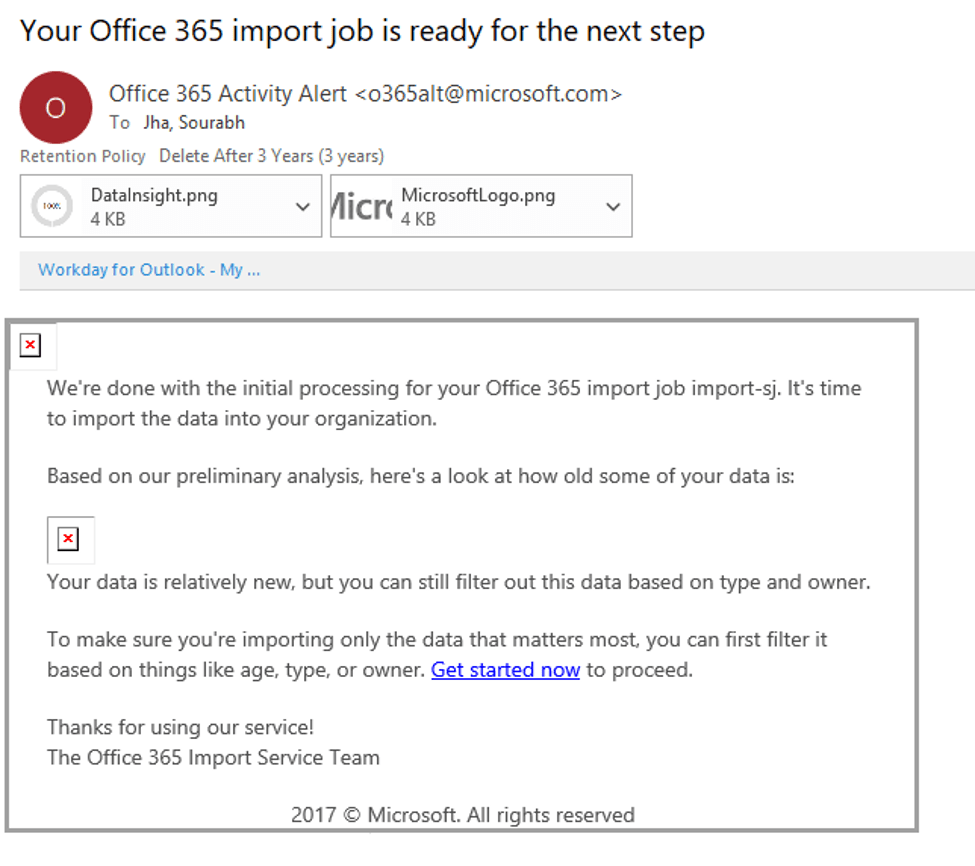
Initiate Import Job
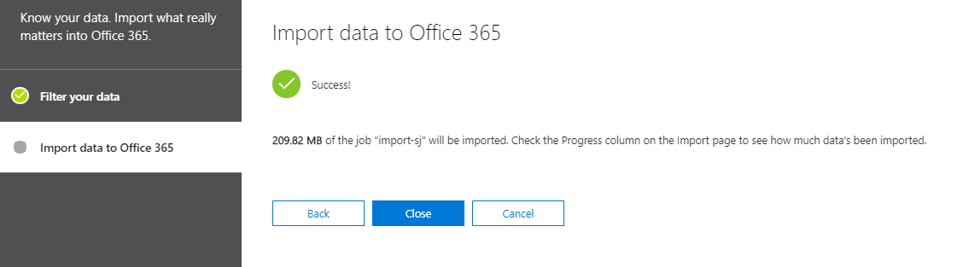
- Click on ‘Import to Office 365’.
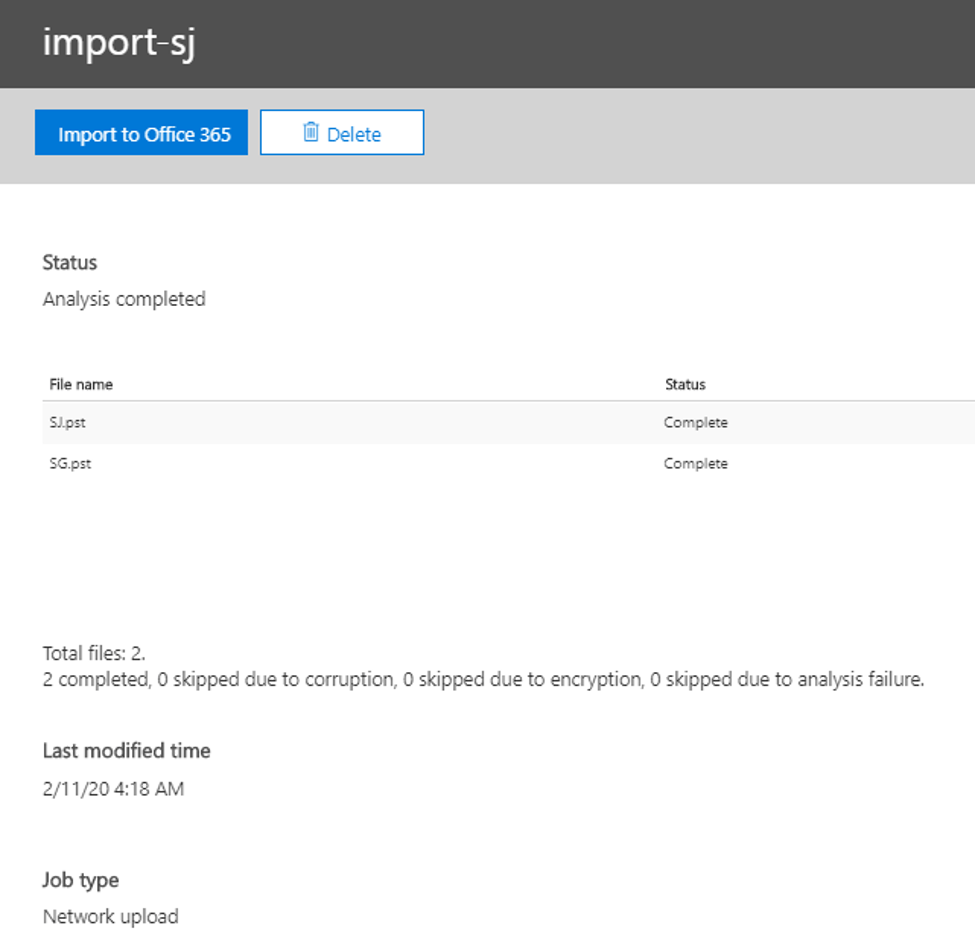
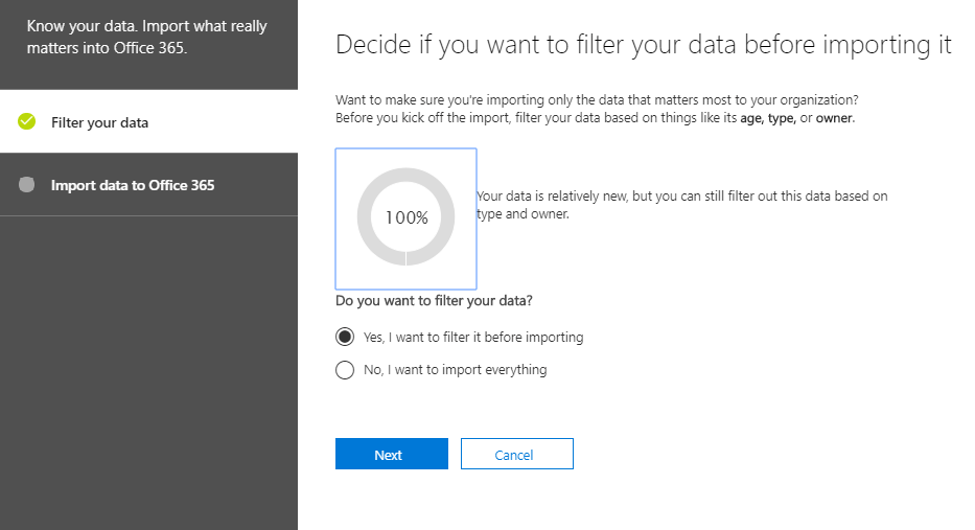
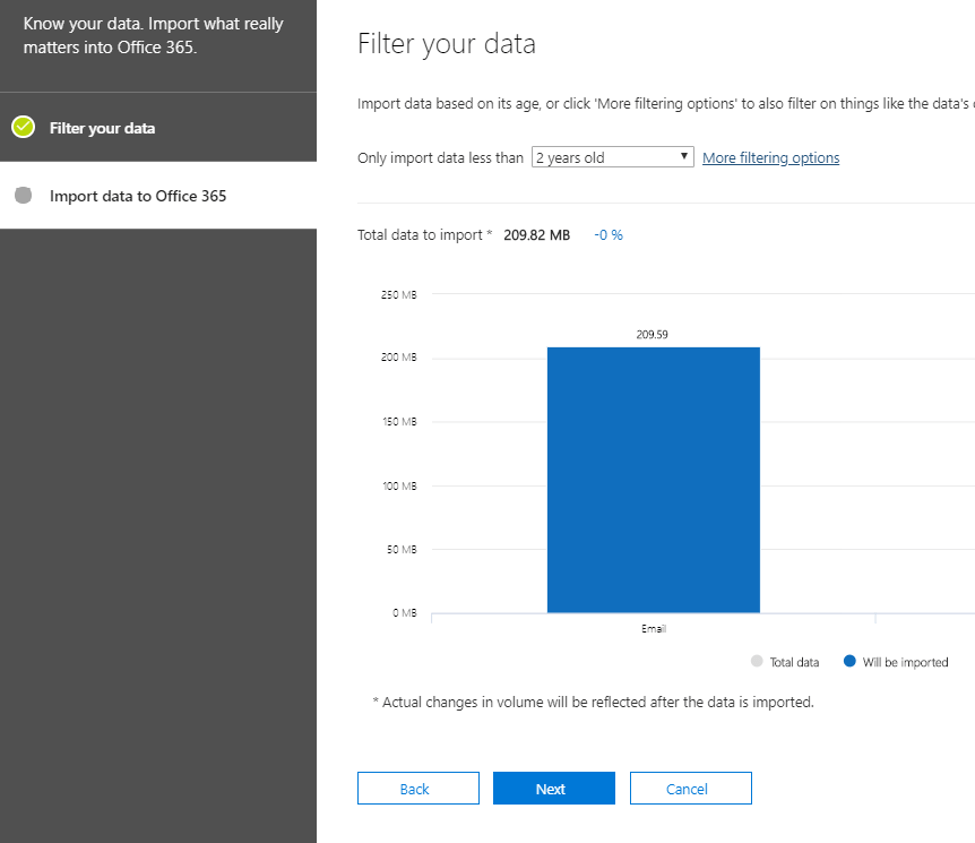
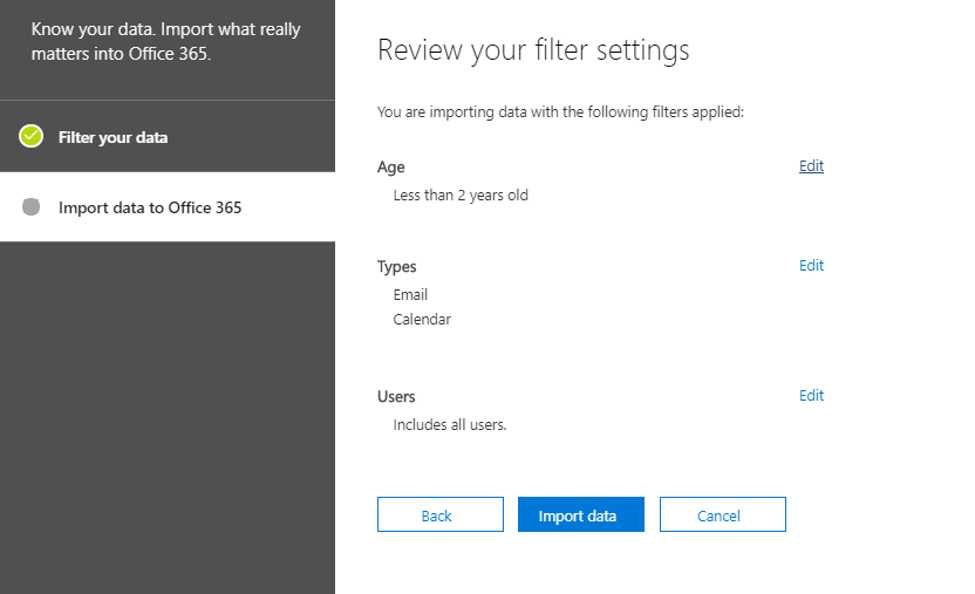
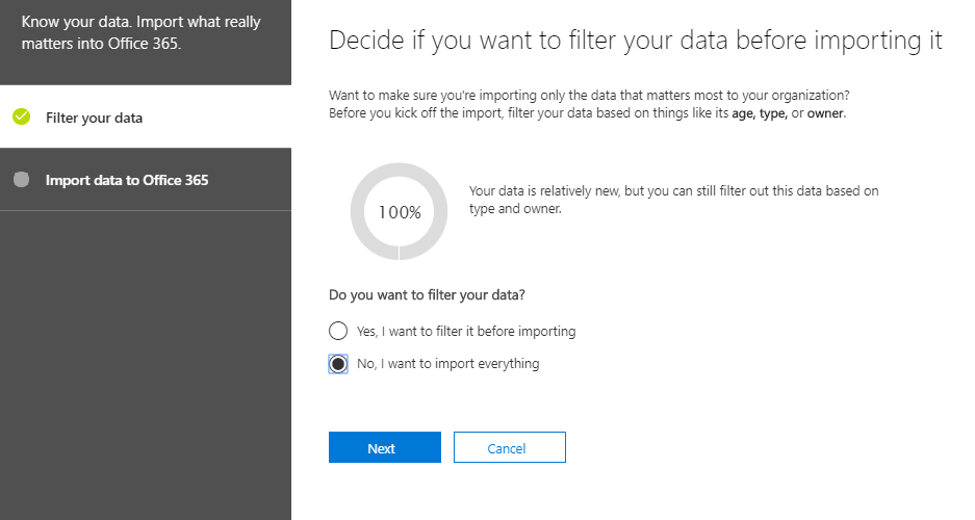
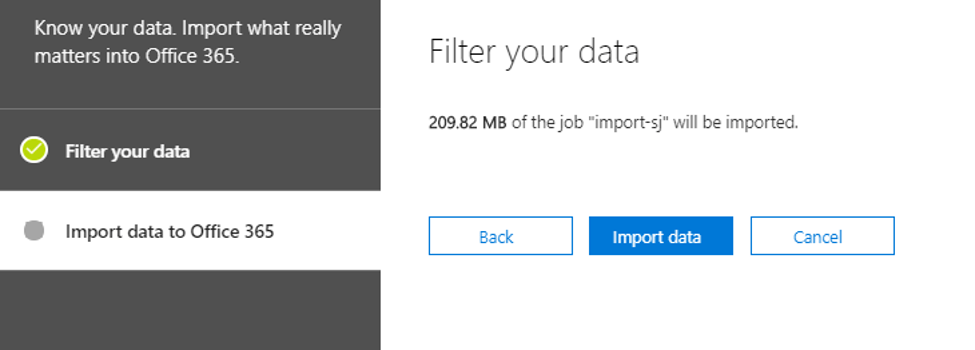
- If you need you can make use of filters and these filter will be shown as per your PST Content. Let’s say your pst has 3 year old data, then it will show you option to select 1 year, 2 year and 3 year old data import.
- Here are the screenshot of the options but in this demo we will import without selecting any filter.
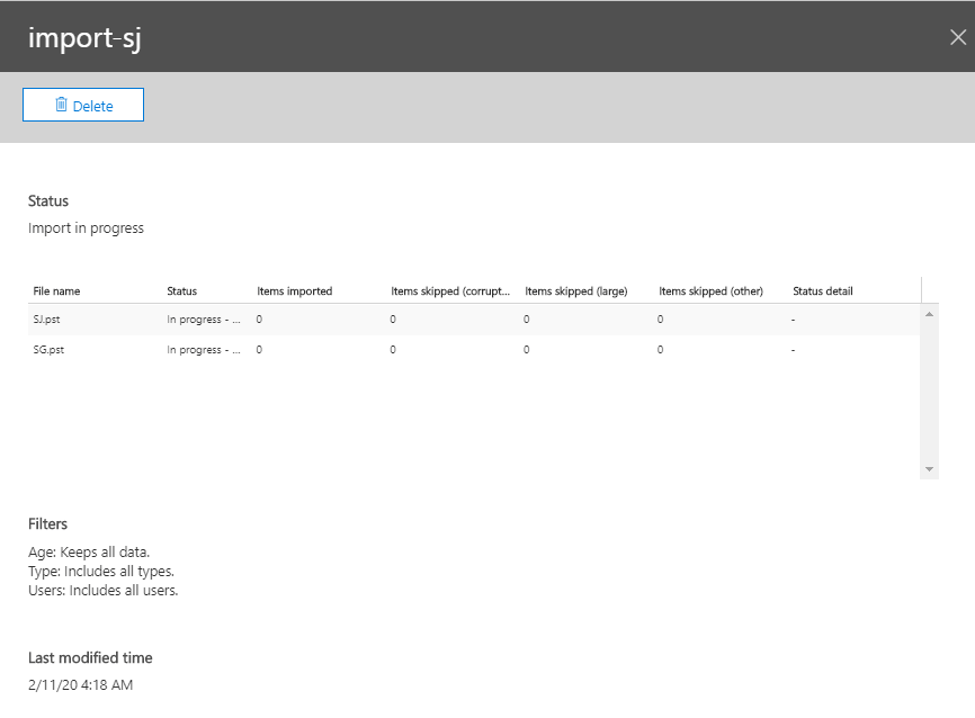
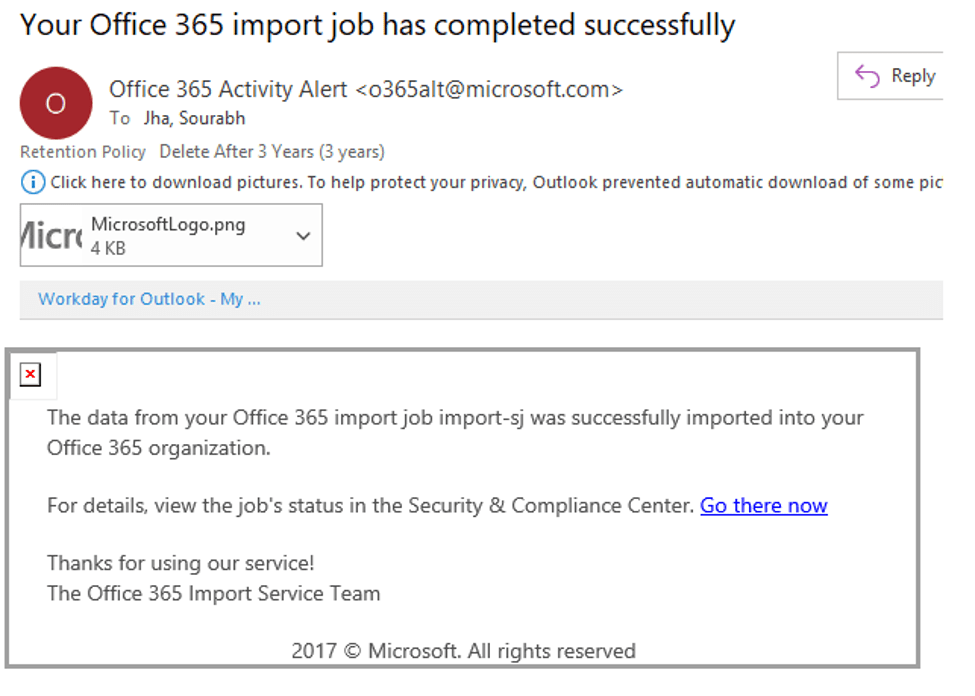
Now you will start seeing emails in your mailbox, check on https://outlook.office365.com/owa.
Thank you for reading !
