
Introduction
The AWS Cloud Development Kit (CDK) is a robust framework that enables developers to define cloud infrastructure using popular programming languages. In this guide, we’ll demonstrate how to create an Amazon S3 bucket using AWS CDK v2, tailored for beginners. The process will be carried out on a Windows 10 computer.
Prerequisites
Before you start, make sure you have the following:
- IDE Environment : Must have vs code of similar ide installed on your workstation to run cdk.
- Node.js: Ensure you have Node.js (version 14.x or later) installed on your machine. You can download it from nodejs.org.
- AWS Account: You need an AWS account to create resources. If you don’t have an account, you can sign up at aws.amazon.com.
- AWS CLI: Install the AWS Command Line Interface (CLI) and configure it with your AWS credentials. You can find installation instructions here.
- AWS Access Key : get the access key to create/delete resource as needed
- AWS CDK: Install AWS CDK globally on your system.
Tools Installation
Download and Install Tools.
- node.js – https://nodejs.org/en/download
- AWS CLI – https://aws.amazon.com/cli
- VS Code – https://code.visualstudio.com/
- AWS CDK – Run below command in VS Code
npm install -g aws-cdk
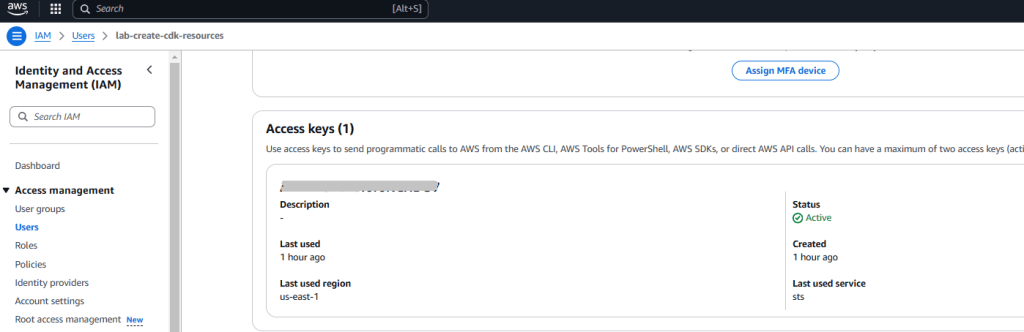
Create AWS Credentials
- Navigate to IAM > Users and create a new user or update existing and get the Access keys.

VS Code configuration
AWS Credential configuration
- Run aws configure and fill necessary detail :

Create a New CDK Project
- First, create a new directory for your CDK project and navigate into it:
mkdir my-cdk-s3
cd my-cdk-s3 - Initialize a new CDK project:
cdk init app --language=typescriptThis command sets up a basic structure for your project with TypeScript as the programming language.
- Ensure, file bin/my-cdk-s3.ts has these details.
#!/usr/bin/env node
import { App } from 'aws-cdk-lib';
import { CloudfrontStack } from '../lib/cloudfront-stack';

// Create a new CDK App
const app = new App();

// Instantiate the CloudfrontStack
new CloudfrontStack(app, 'CloudfrontStack', {
  /* You can add stack-specific props here, if needed */
});

// Synthesize the app
app.synth();
Adding S3 Bucket Dependency
To create an S3 bucket, you need to add the AWS S3 library as a dependency. Open package.json file and find the dependencies section. Add the following line:
{
  "dependencies": {
    "aws-cdk-lib": "^2.0.0",
    "constructs": "^10.0.0"
  }
}
- You can also install it directly using npm:
npm install aws-cdk-lib/aws-s3
Define the S3 Bucket
- Next, open the file
lib/my-cdk-s3-stack.ts. This is where you will define the S3 bucket.
Ensure aws-cdk-lib is used instead of @aws-cdk to ensure CDK v2.
- Update the content of the file to look like this:
import { App, Stack, StackProps } from 'aws-cdk-lib';
import { Construct } from 'constructs';
import * as s3 from 'aws-cdk-lib/aws-s3';

export class CloudfrontStack extends Stack {
  constructor(scope: Construct, id: string, props?: StackProps) {
    super(scope, id, props);

    const bucket = new s3.Bucket(this, 'sjbucket007', {
      bucketName: 'sjbucket007',
    });
  }
}
Deploy the Stack
- Synthesizing the CloudFormation template:
cdk synth - Deploying the stack to AWS:
cdk deployDuring the deployment, you will be prompted to approve the changes. Type
yand press enter.
Verify the S3 Bucket
Once the deployment is complete, you can verify the creation of your S3 bucket by logging into the AWS Management Console and navigating to the S3 service. You should see your new bucket listed there.
Conclusion
Congratulations! You’ve successfully provisioned an S3 bucket using AWS CDK v2. The AWS CDK allows for a wide range of infrastructure configurations, and this is just the beginning. Experiment with adding other resources and leveraging the power of Infrastructure as Code (IaC) to simplify your cloud management.
Happy coding!
